
Picture it - a quilt top filled with intricate patchwork or applique surrounded by a frame of smooth borders that lie flat and that set off what is inside! But borders don’t always cooperate! The bane of quilters is rippling borders that are wavy or puffy, detracting from the finished appearance Here are some methods for adding borders to optimize their appearance and produce the best results possible!
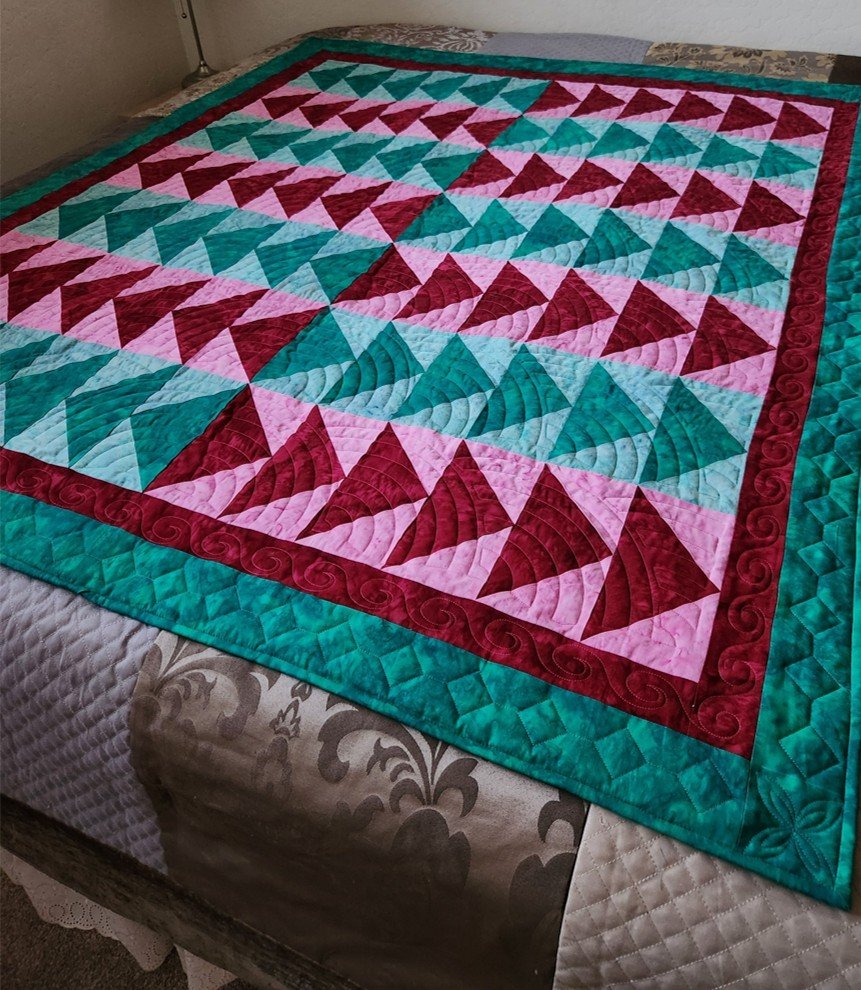
The goal for each quilt is to have smooth borders that lie flat! Newton’s Third Law throw quilt for Quick and Easy Quilts, Spring 2027 by Sujata Ryan
Factors Affecting Border Appearance
Some of the factors that can impact the appearance of the border and its ability to lie flat include:
Is the border pieced or just one fabric? Pieced borders can have a lot of literal wiggle room since each seam sewn between pieces can introduce unevenness, especially on bias-edged triangles that have extra stretchiness to them. Borders that are a single long fabric strip, perhaps pieced with a center seam, tend to be smoother.
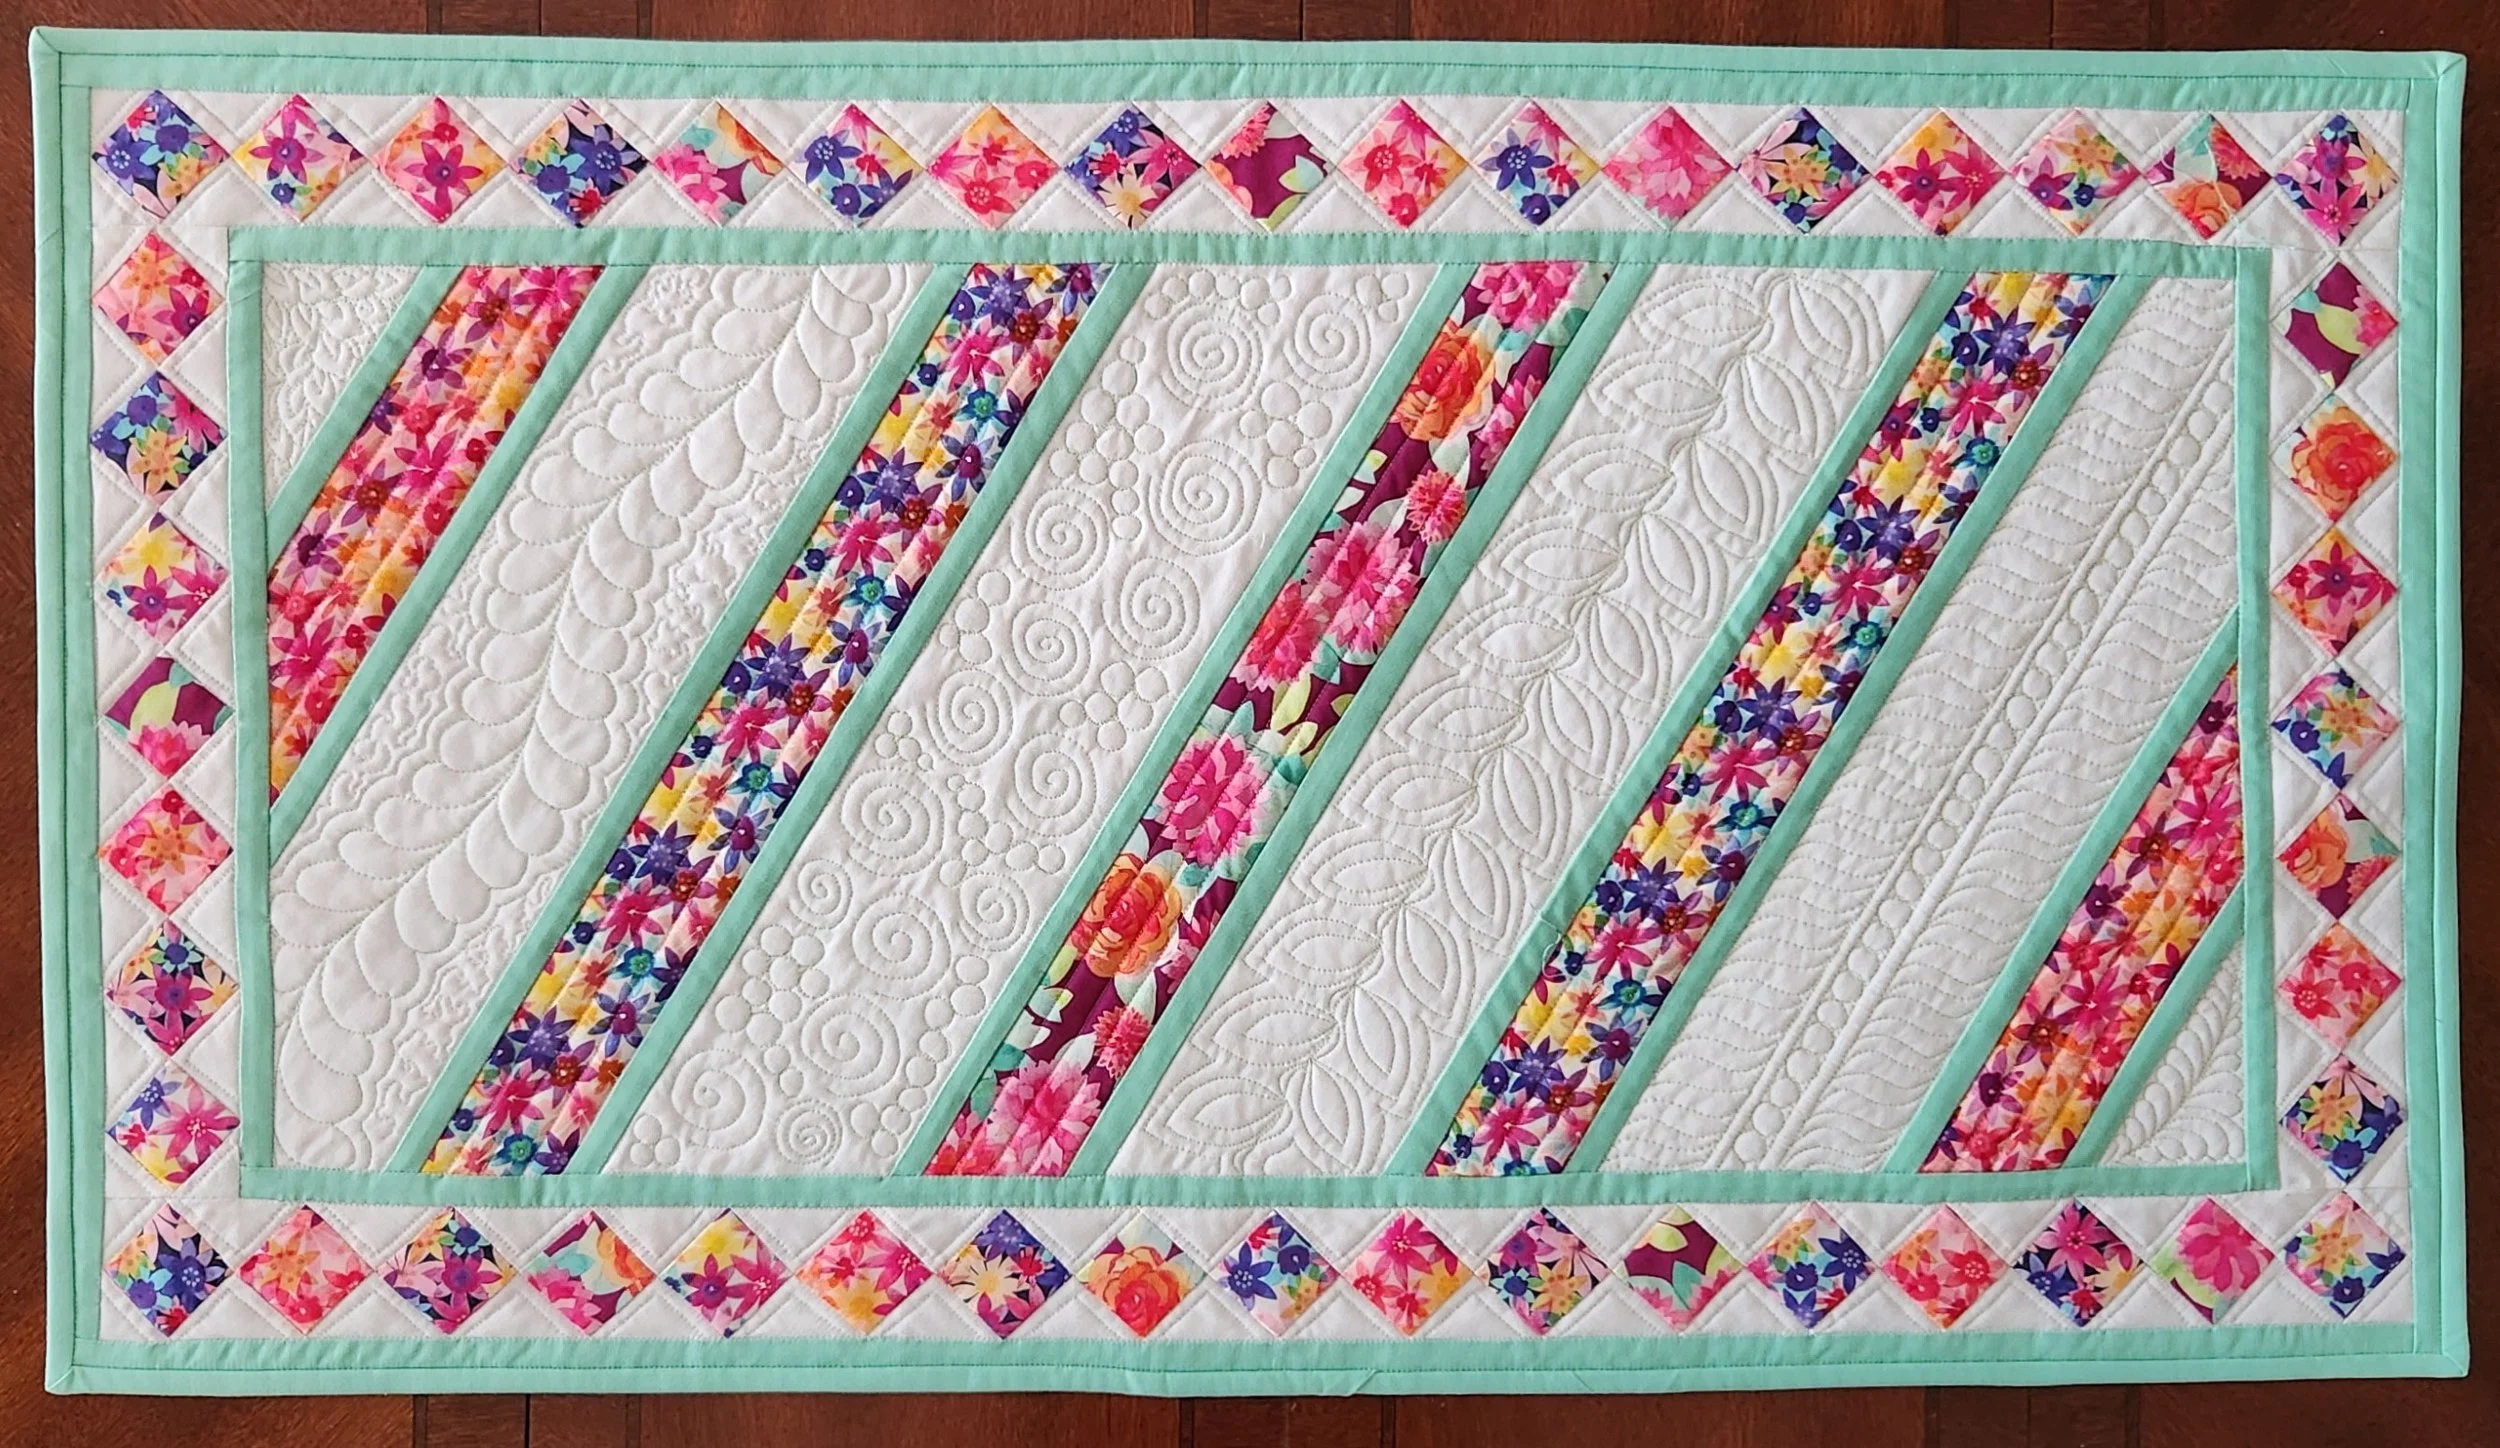
Pieced borders can sometimes present challenges since they can introduce distortions along the border. Fields of Free Motion table runner for Love of Quilting, Spring 2025 by Sujata Ryan
Was the border cut along the crosswise grain or lengthwise grain? Strips cut from the lengthwise grain (parallel to the selvages, or finished edges of the fabric) tend to have the least stretchiness as this direction of the fabric weave has the least play in it. However, they are more difficult to cut since they usually must be measured and marked individually and cannot be cut with a rotary cutter.
Usually strips for borders are cut crosswise, with the width of fabric folded in half. This allows efficient cuts with a rotary cutter to be done quickly. Strips cut on the bias (at a 45 degree angle to the fabric edges) will have the maximum stretchiness and need to be handled as little as possible to minimize stretching them.
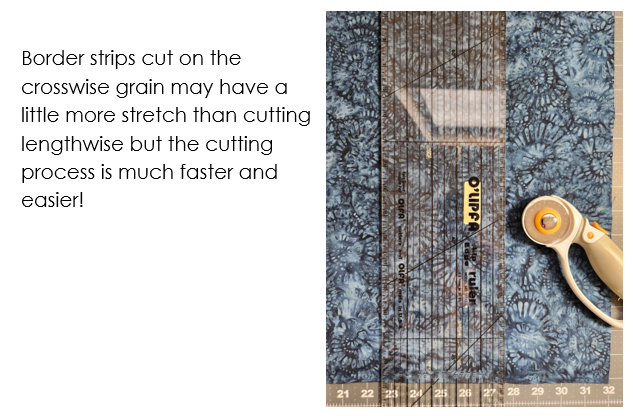
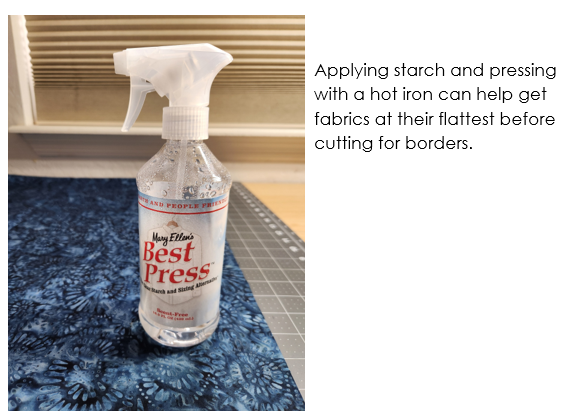
Some tips for keeping borders as flat as possible before they are sewn onto the quilt top include:
Spray the border fabrics with starch and press with a hot iron to make the fabric as flat as possible before cutting and/or stitching to the top. The starch will also minimize stretching while the border is pinned and sewn into place.
Avoid pulling the cut edges too much while they are sewn on.. Pulling can result in distortion and waviness.
To sew borders onto the quilt top, two methods are commonly used.
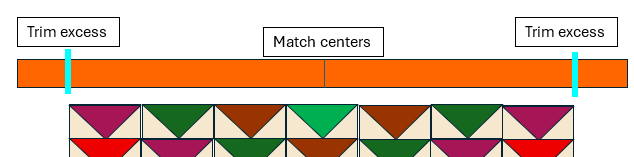
Easy Way - Sew and Trim
Cut strips for the borders in whatever width is desired, adding ½ inch to provide for two ¼ inch seam allowances.. For example, for a finished border 4 inches wide, the striips would be cut at 4-1/2 in. x width of fabric. Sew borders strips together if necessary, to ensure they are long enough to traverse the quilt top edge. Mark the center of the quilt top edge and the center of the border. Match the center seam or center of each border strip to the center of the top or bottom. Stitch in place. Trim the excess fabric at the ends. Repeat to add borders to the right and left sides.
Exact Way - Measure and Fit
This method has the most precise fit for the smoothest, flattest borders possible. It could be used for a single fabric border or for pieced borders.
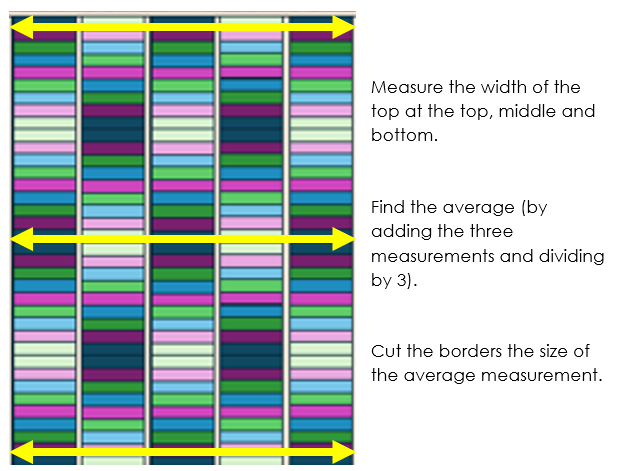
Measure the width of the quilt top along the top and bottom edges, and in the middle. Find the average of this measurement. Cut the top and bottom borders to this length. Stitch in place, matching the center seam of the border strip to the center of the top or bottom.
For example, suppose the three measurements were 47-1/4 in., 47 in. and 47-5/8 in., the average of these is 47.29 in. Rounding down to 47.25 in. will make it easier to measure this border length, with a negligible loss of length from rounding down.
Next, measure the length of the quilt top along the left and right edges, and in the middle (including the top and bottom borders, which were just stitched on). Find the average of this measurement. Cut the left and right borders to this length. Stitch in place, matching the center seam of the border strip to the center of the left or right sides.
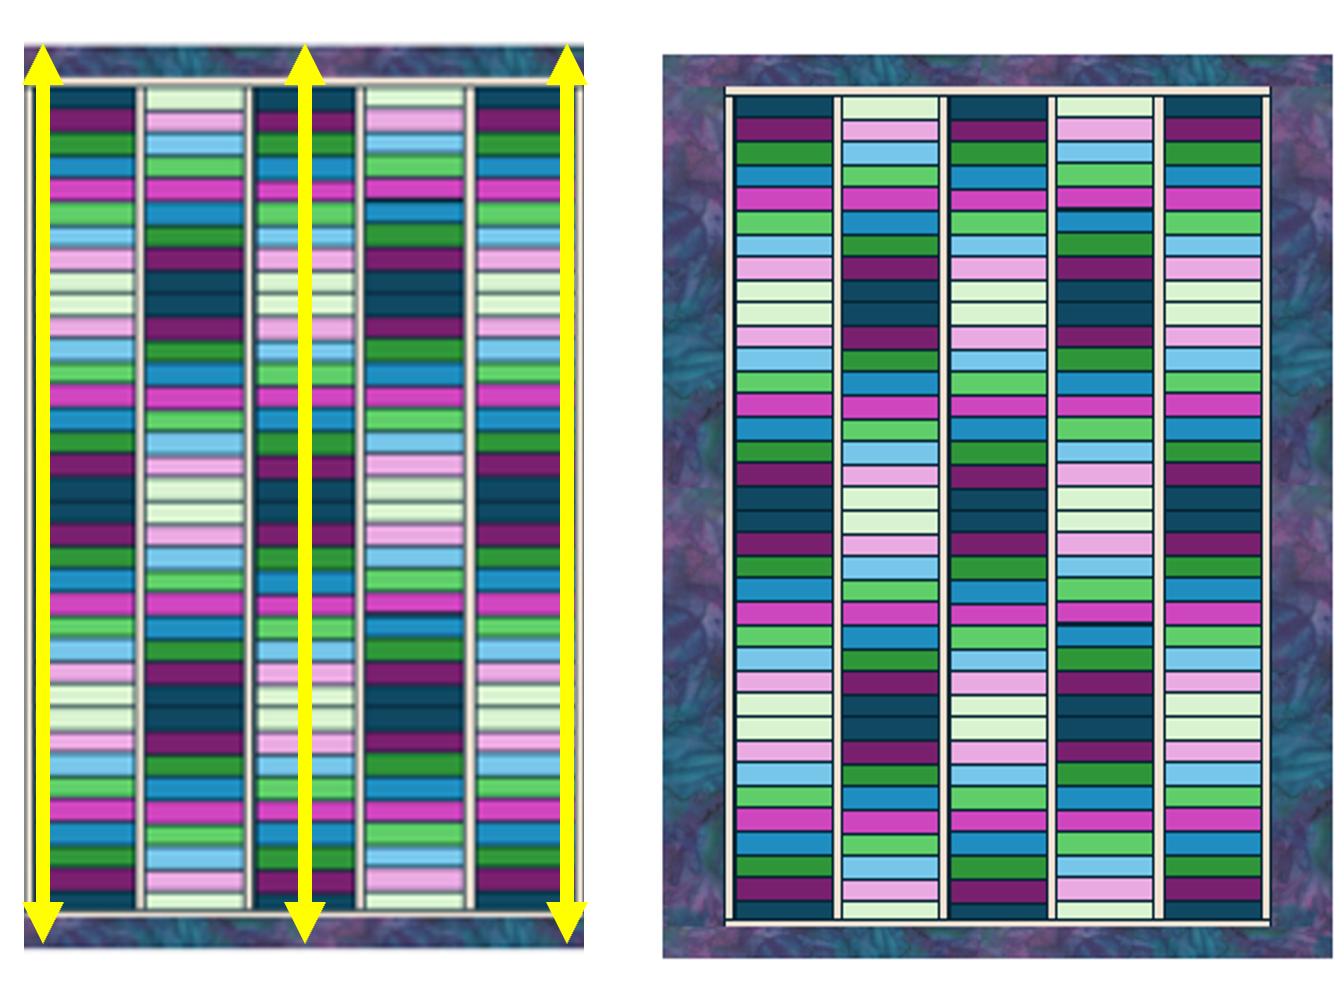
While the exact way is more involved and takes longer to complete, it produces superior results compared to the easy way. Cutting opposite pairs of borders the exact same length helps to balance the quilt’s proportions and to guarantee one side will not be longer than the other. Borders stay flatter because they have been cut to the exact border length needed.
Maybe smooth, flat borders are an attainable challenge after all!